
Drawing | Family Portrait
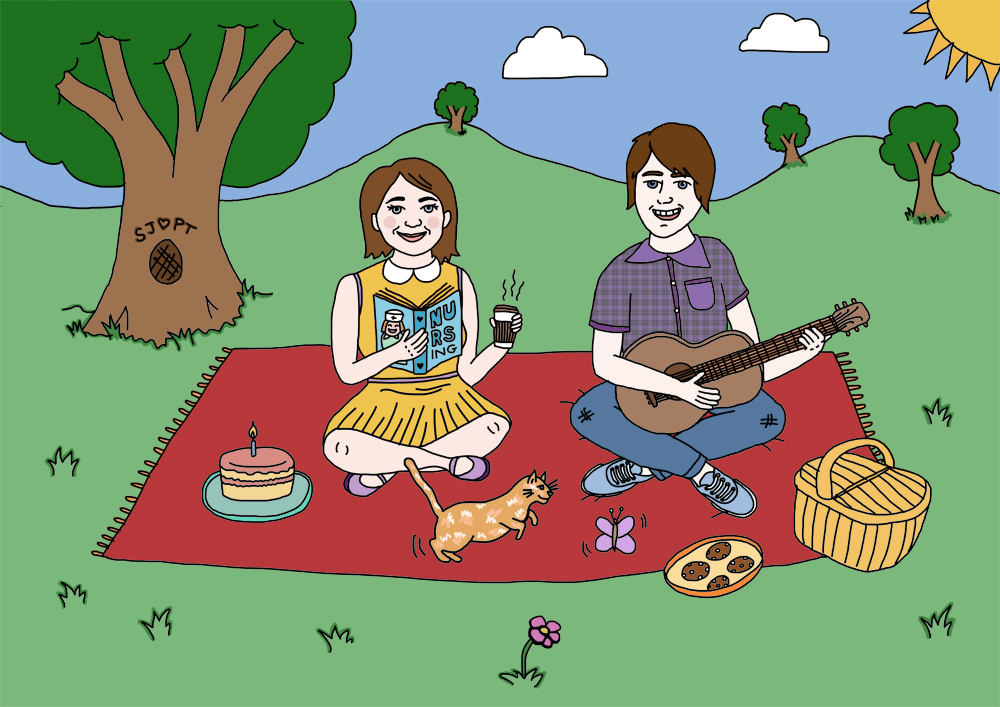
My sister asked me to draw her a family portrait for she and her boyfriend's one year anniversary yesterday (my birthday!) - they recently adopted a cute little ginger kitten named Charlie and moved into a big house together. I thought I'd share a little bit about my drawing process. It's pretty basic but I've been enjoying learning new ways of doing things over the past few months. I'd like to play more with textures and varied brushes and adding additional layers. I only had a day or two to finish this drawing, so I kept it pretty simple.

I started by making a fairly basic sketch in Photoshop using the paintbrush tool in a single layer on a white background A3 sized image.

In a separate layer and in a darker colour, I refine the lines of the drawing, zooming in on each section and adding in more detail. Sometimes if I am having difficulty drawing a particular section freehand (eg. shoes) I'll use study some Google images to get a better idea.

I then hide my original grey layer and am left with the simple, black outline.

When adding colour, I use the paintbrush tool for small sections and use the selection tool and paint bucket tool for larger blocks of colour, adding them in a layer underneath the black outline. If I've added a colour that then doesn't suit, I select the colour section with the magic wand tool and select Image > Adjustments > Hue/Saturation and see other options for the the colour of the section. This stage always takes the longest amount of time. Sometimes I add a texture layer underneath the colour layer and adjust the opacity of the colour layer, which gives the image a bit more structure.

My sister had the drawing printed and put it in a cute frame and gave it to her boyfriend yesterday. He sent me a message saying he liked it and thought it was cooler than traditional family portraits.

Do you use a graphics tablet? Care to share any details of your process?
